In this tutorial, we are going to configure the declarative pipeline with SonarQube.
Create repositories and upload project code to Gitlab
Create two repositories in GitLab, one is for backend code, another is for frontend code. upload code to each repository.
For Project code, you can download from Here.
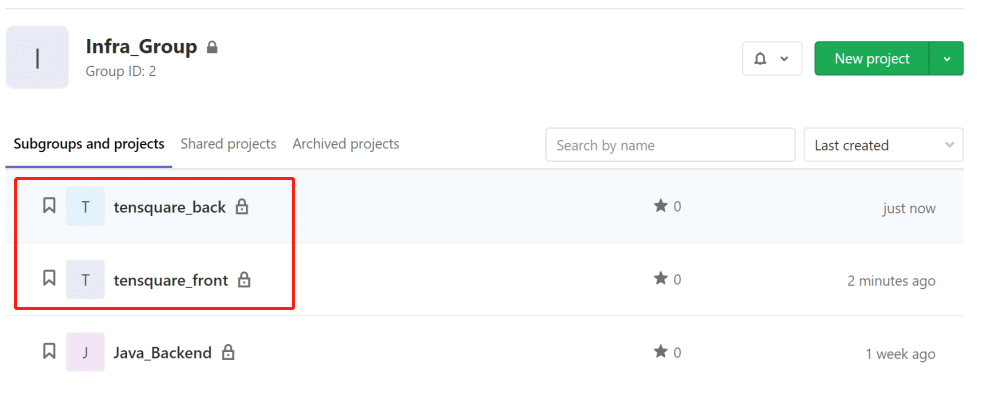
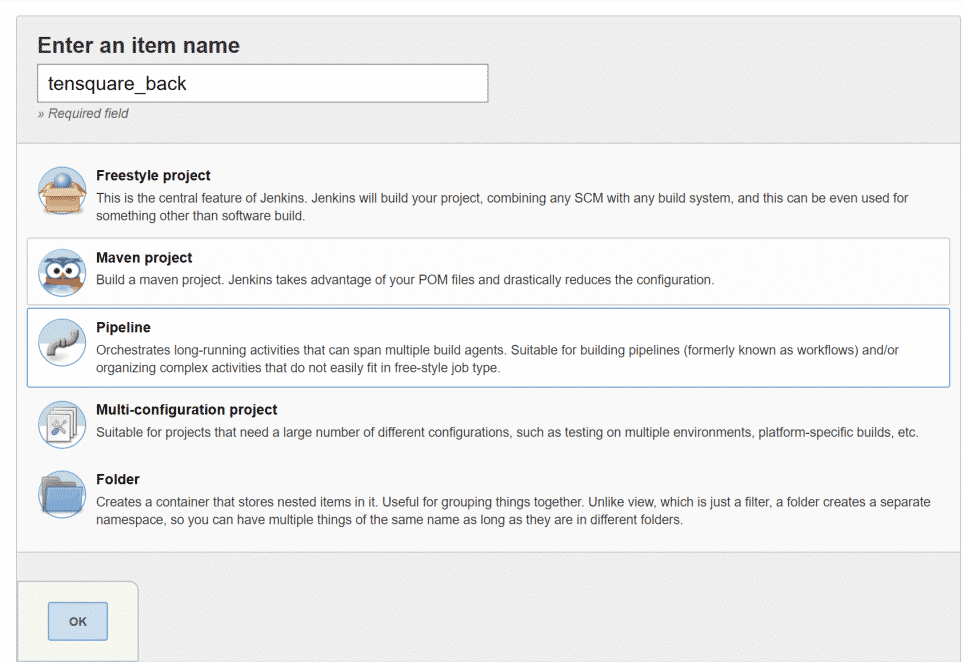
Click new button to create a Pipeline Job in Jenkins
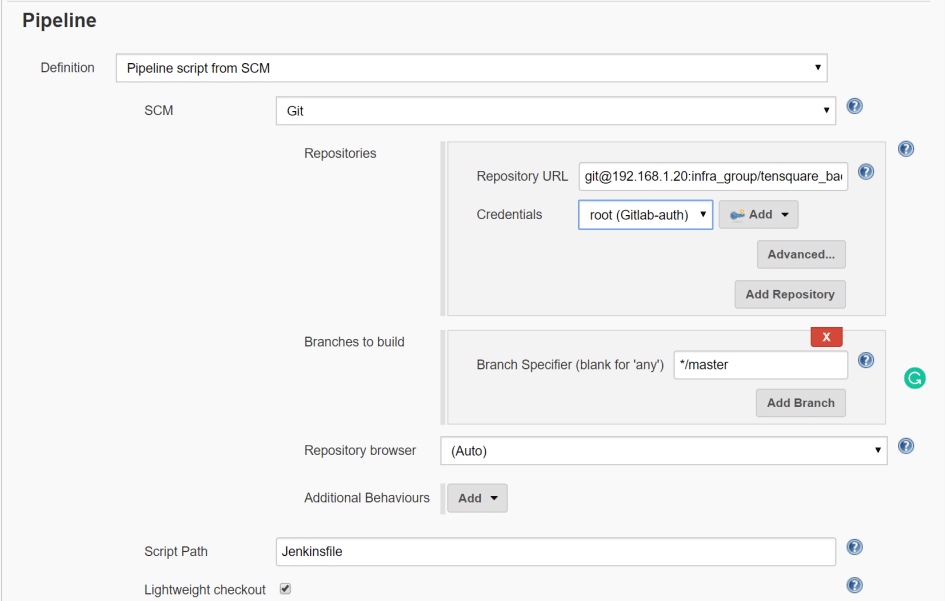
Scroll down to pipeline section and choose pipeline script from SCM,
select Git fo SCM, and select credentials if your repository is private.
enter Jenkinsfile in the Script Path.
Create a Jenkinsfile under the root folder of the project, the content of Jenkins file is listed below. In this Jenkinsfile, we define some variables:
1. git_auth is for communicating between Jenkins and Gitlab.
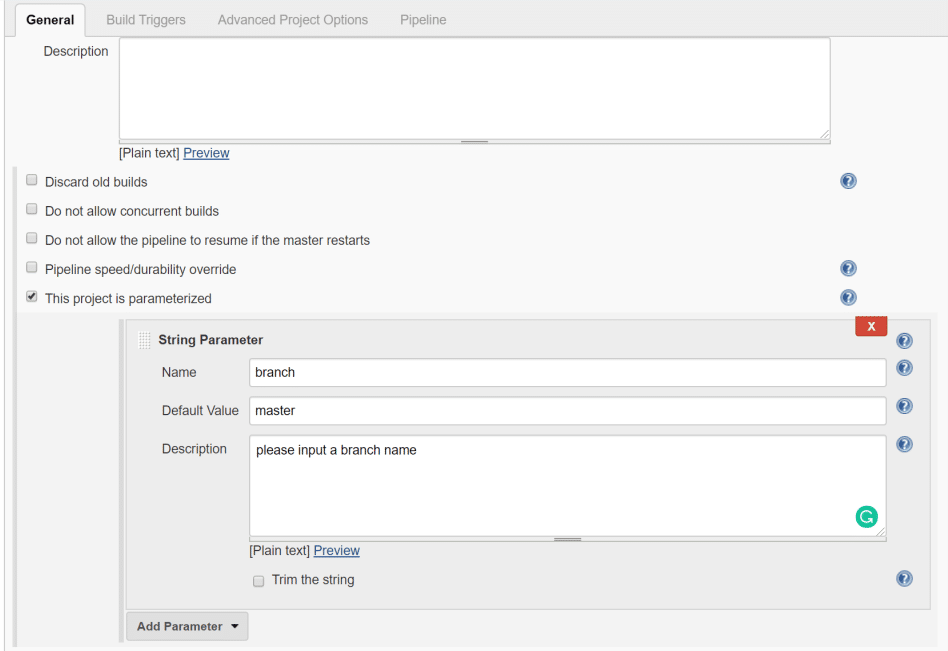
2. ${branch} is a variable that you can choose the branch of the Project in Jenkins.
//gitlab authorization
def git_auth = "7df0eb32-eb59-42cf-853a-58249fcede3b"
node {
stage('check out code') {
checkout([$class: 'GitSCM', branches: [[name: '*/${branch}']],
doGenerateSubmoduleConfigurations: false, extensions: [], submoduleCfg: [],
userRemoteConfigs: [[credentialsId: "${git_auth}", url:
'git@192.168.1.20:infra_group/tensquare_back.git']]])
}
}
Scroll up to general settings, tick ‘This project is parameterized’ and add String Parameter.
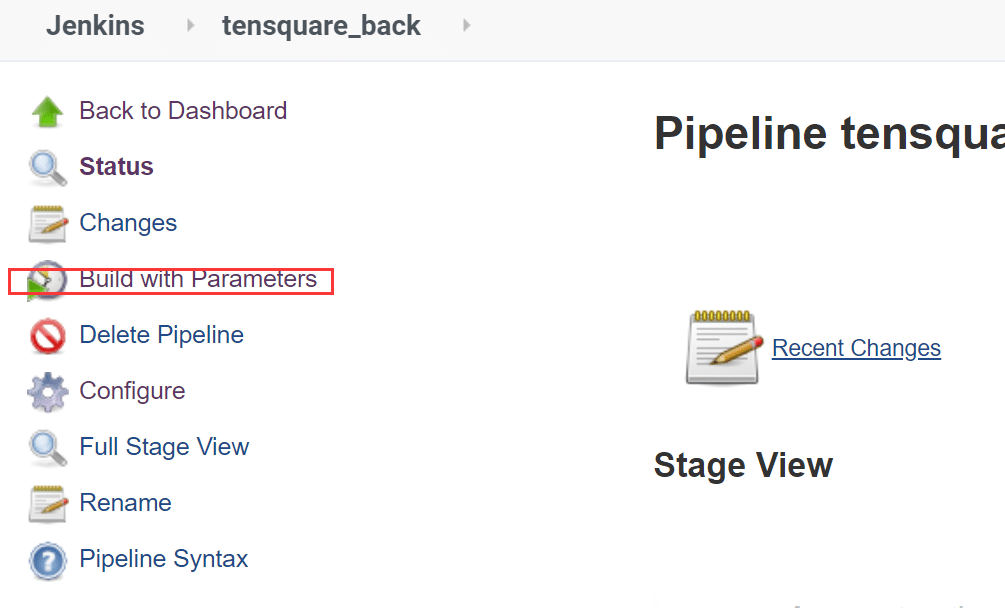
After saving the job, we can build with Parameters to see the result.
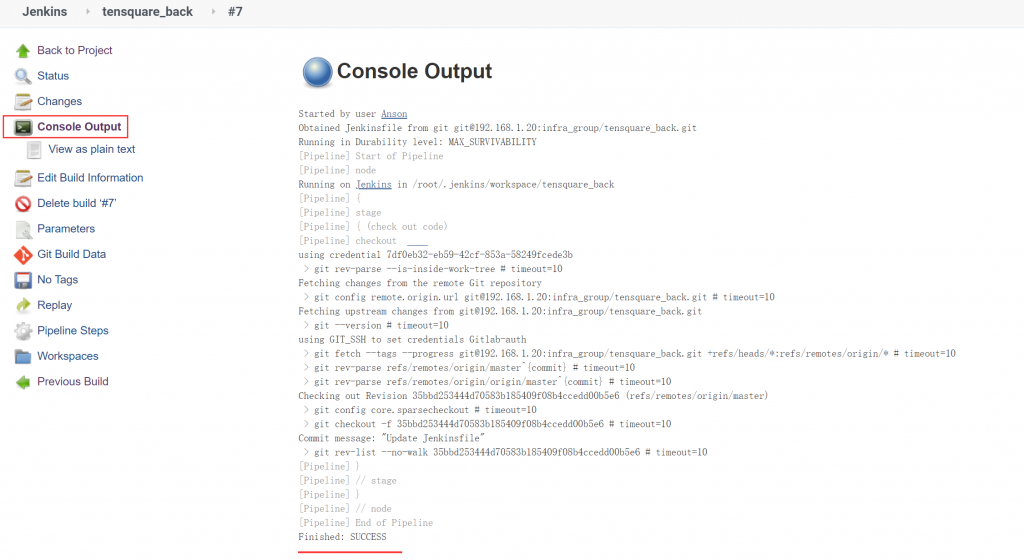
Wait for a while, we can see the task is successfully finished.
Analyze code with SonarQube
We have already learned about how to run a basic pipelie task, now we are moving a little bit futher – adding another stage to analyze code in Jenkins.
Select the task we created and configure.
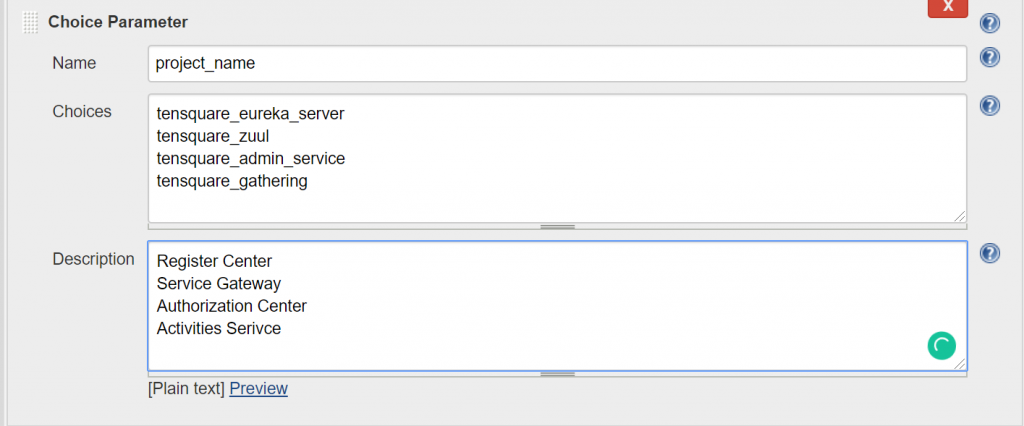
add Choice Parameters, because we want to analyze multiple times.
Create sonar-project.properties file
# must be unique in a given SonarQube instance
sonar.projectKey=tensquare_eureka_server
# this is the name and version displayed in the SonarQube UI. Was mandatory prior to SonarQube 6.1.
sonar.projectName=tensquare_eureka_server
sonar.projectVersion=1.0

# Path is relative to the sonar-project.properties file. Replace "\" by "/" on Windows.
# This property is optional if sonar.modules is set.
sonar.sources=.
sonar.exclusions=**/test/**,**/target/**
sonar.java.binaries=.

sonar.java.source=1.8
sonar.java.target=1.8
#sonar.java.libraries=**/target/classes/**

# Encoding of the source code. Default is default system encoding
sonar.sourceEncoding=UTF-8
Updating the Jenkinsfile
//git authorization ID
def git_auth = "7df0eb32-eb59-42cf-853a-58249fcede3b"
//git URL
def git_url = "git@192.168.1.20:infra_group/tensquare_back.git"
//image version
def tag = "latest"
//Harbor URL
def harbor_url = "192.168.1.13"
//image project name
def harbor_project = "tensquare"
//Harbor login credentials
def harbor_auth = "833d1a75-f3db-4aec-9cc4-75a77e423163"

node {
    stage('check out code') {
        checkout([$class: 'GitSCM', branches: [[name: '*/${branch}']],
            doGenerateSubmoduleConfigurations: false, extensions: [], submoduleCfg: [],
            userRemoteConfigs: [[credentialsId: "${git_auth}", url:'git@192.168.1.20:infra_group/tensquare_back.git']]])
    }

    stage('code check') {
        def scannerHome = tool 'sonarqube-scanner'
        withSonarQubeEnv('sonarqube') {
        sh """
            cd ${project_name}
            ${scannerHome}/bin/sonar-scanner
        """
        }
    }
}
Build the task, we can select which module you want to analyze and build in this time.
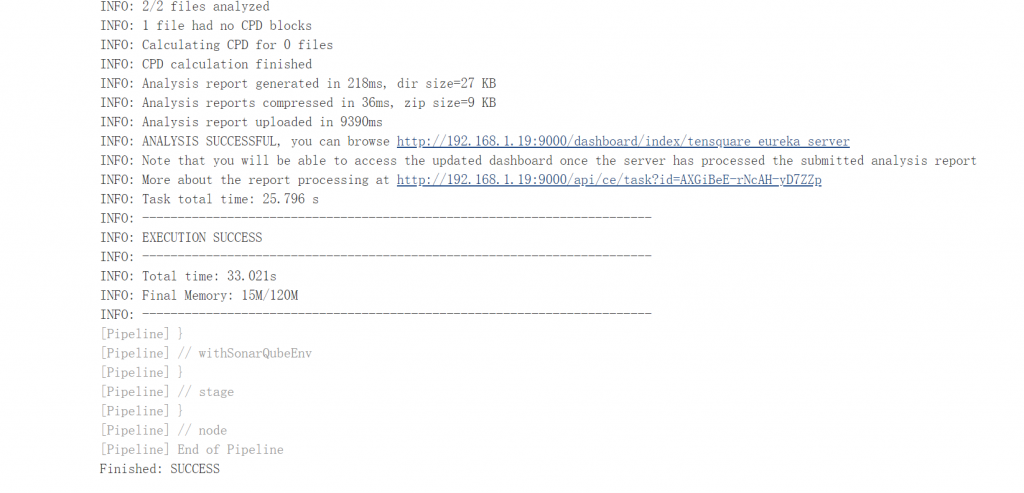
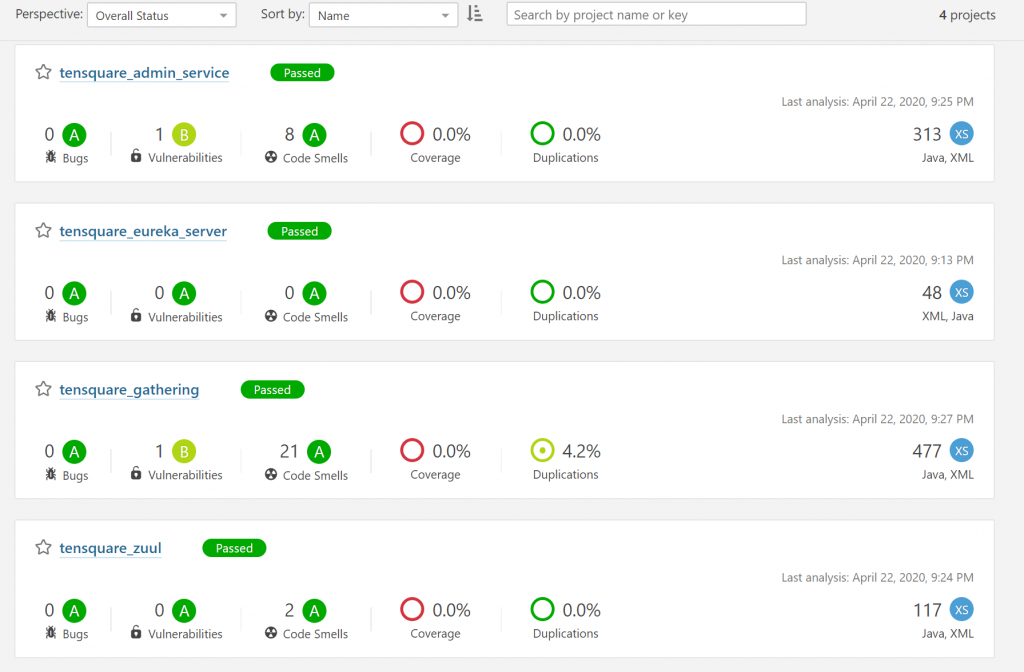
Login the SonarQube portal to check analysis result.

build the rest of the project and check the code analysis result.
Conclusion
In this part, we know how to create a basic pipeline job, how to build task with parameters.